Overview
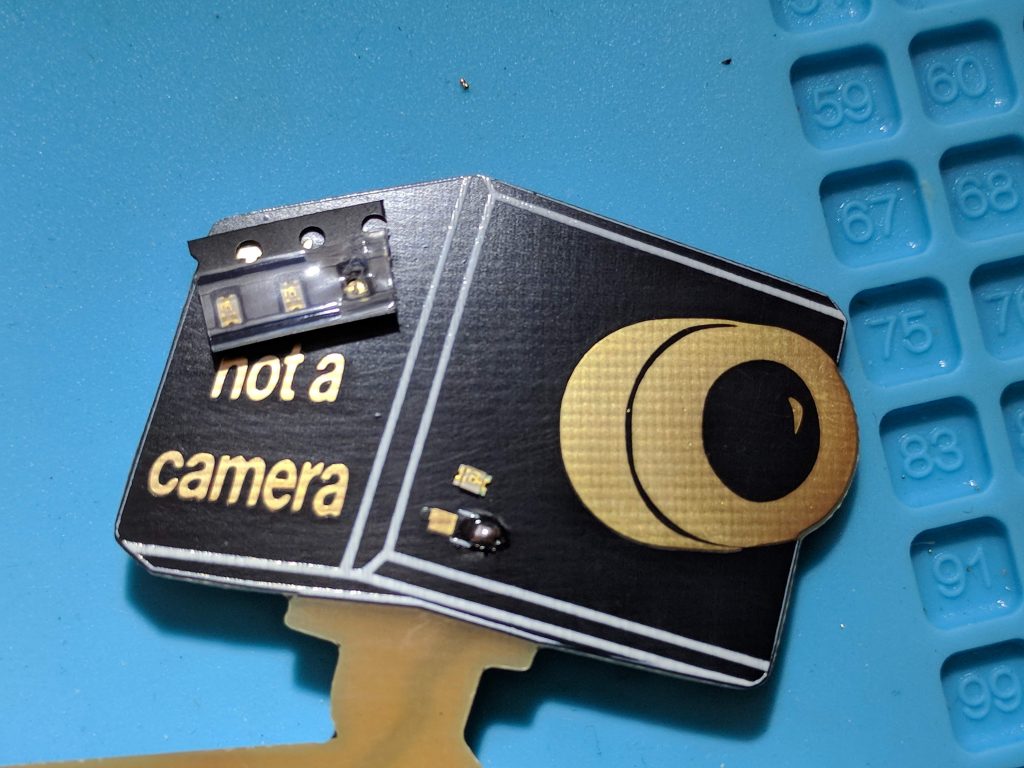
In this module, we’ll show pictures of assembling the NAC board. We’ll try to post a video of assembly soon, as that obviously is a much higher bandwidth way to show how to assemble a PCB.
Soldering Methodology
The key point in surface mount soldering is to solder one pin first (without the component present), then use your iron to heat that solder glob and attach the component. This “tacks down” the component while you solder the other pins. For a 2 pin component like a resistor, it will only be one other pin. For a component like an SOIC8 (which we use for U1), this will be 7 other pins. For more about this subject, check out the soldering skill page.
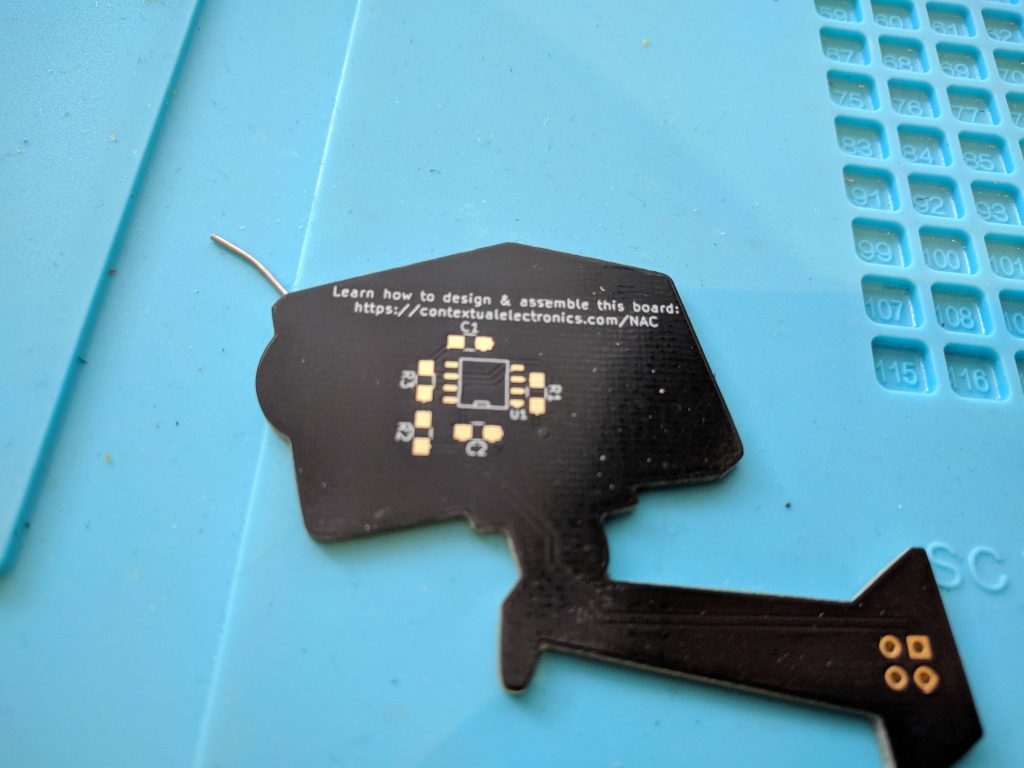
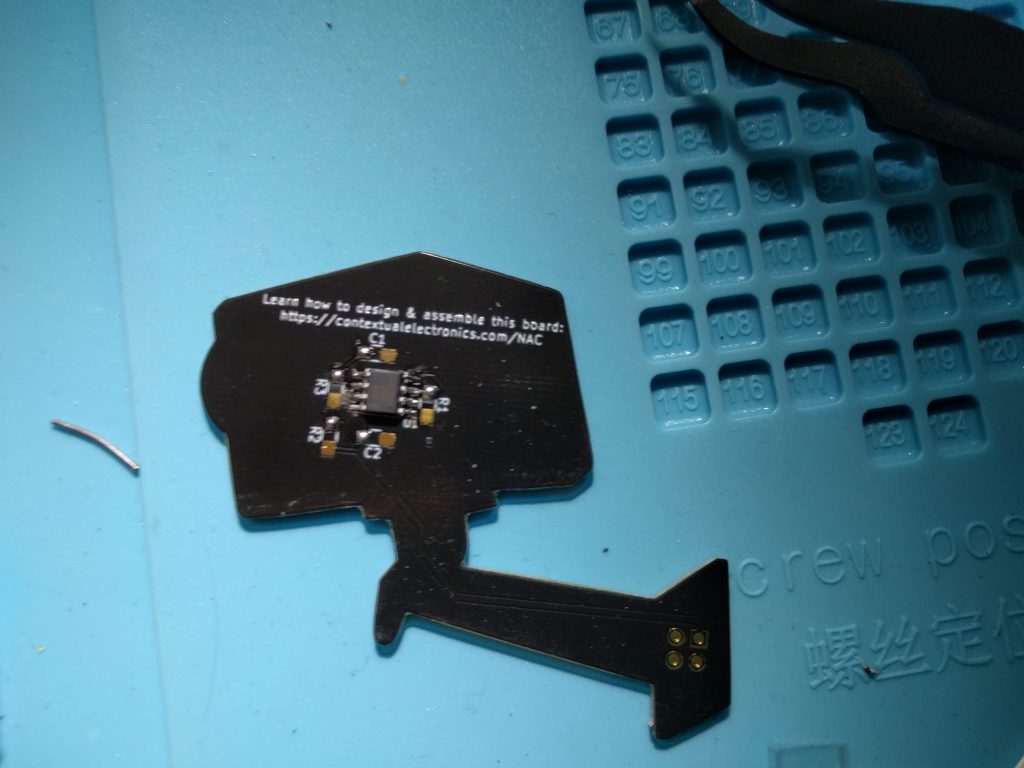
Start with the bare board
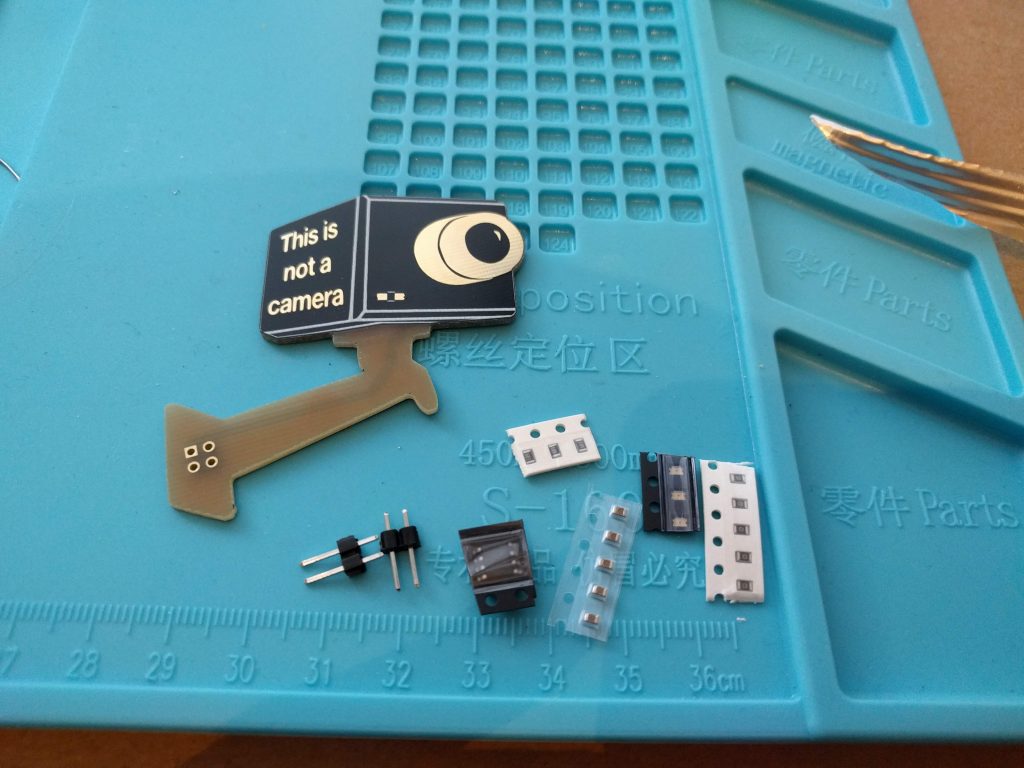
If you bought the kit, it should have:
- 1 7555 timer chip (SOIC8)
- 5 10 uF capacitors
- 5 100 ohm resistors
- 3 68K ohm resistors
- 3 0805 red LEDs
- 2 2-pin headers
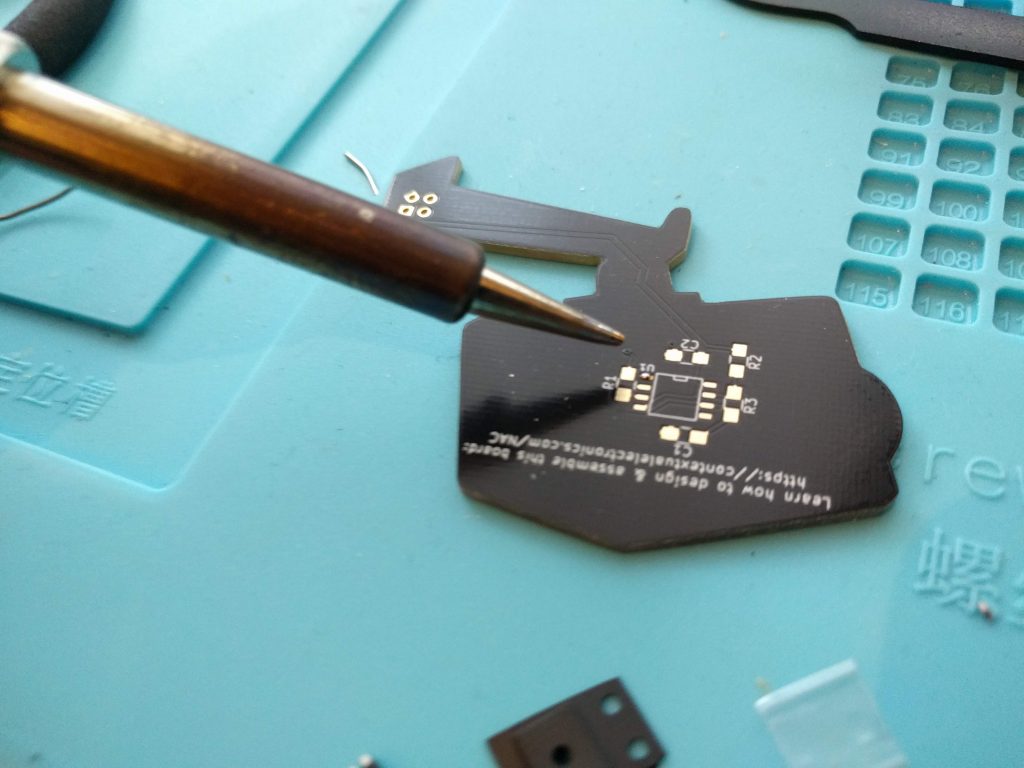
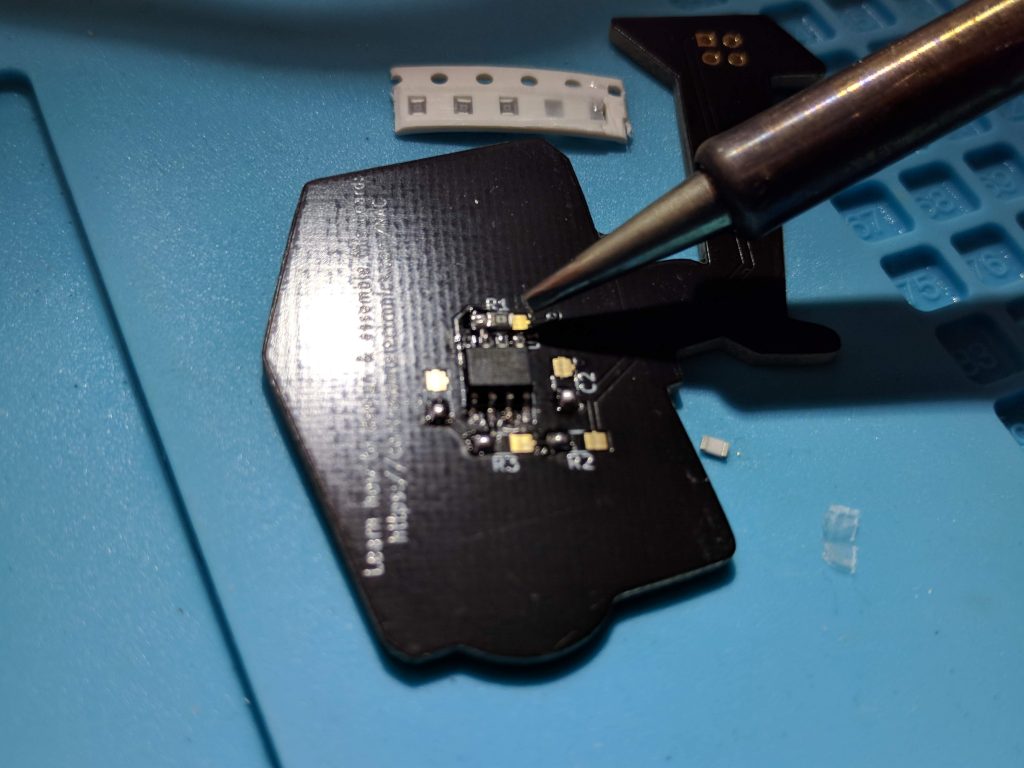
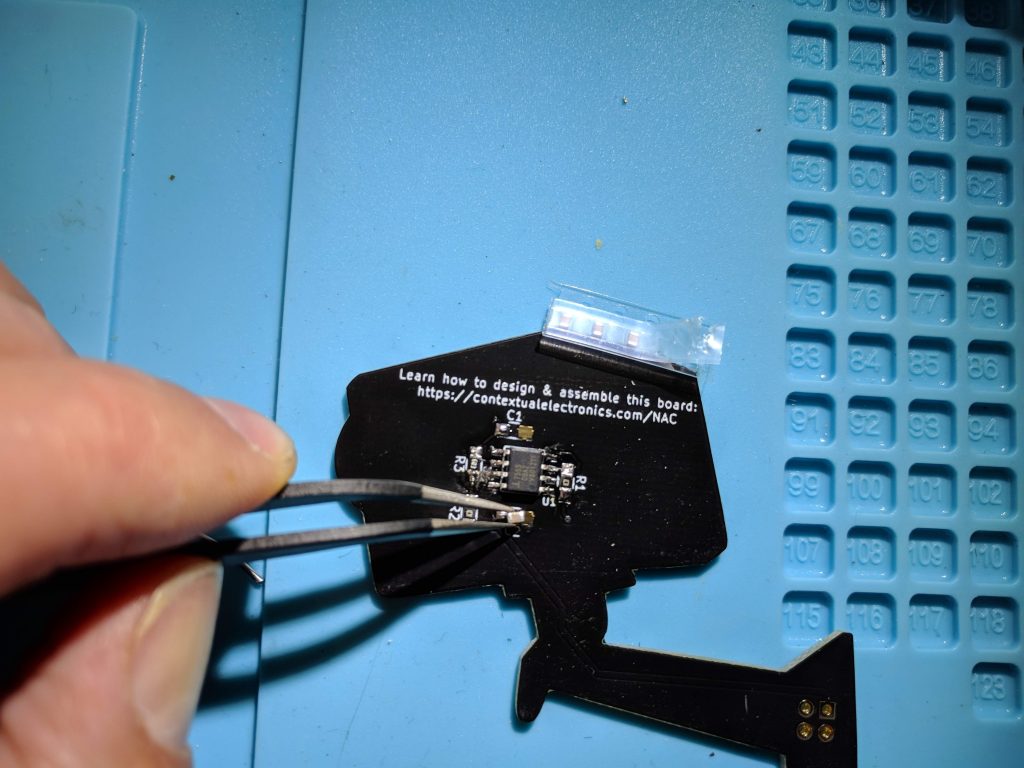
Solder Pin 1 of U1
Place component U1 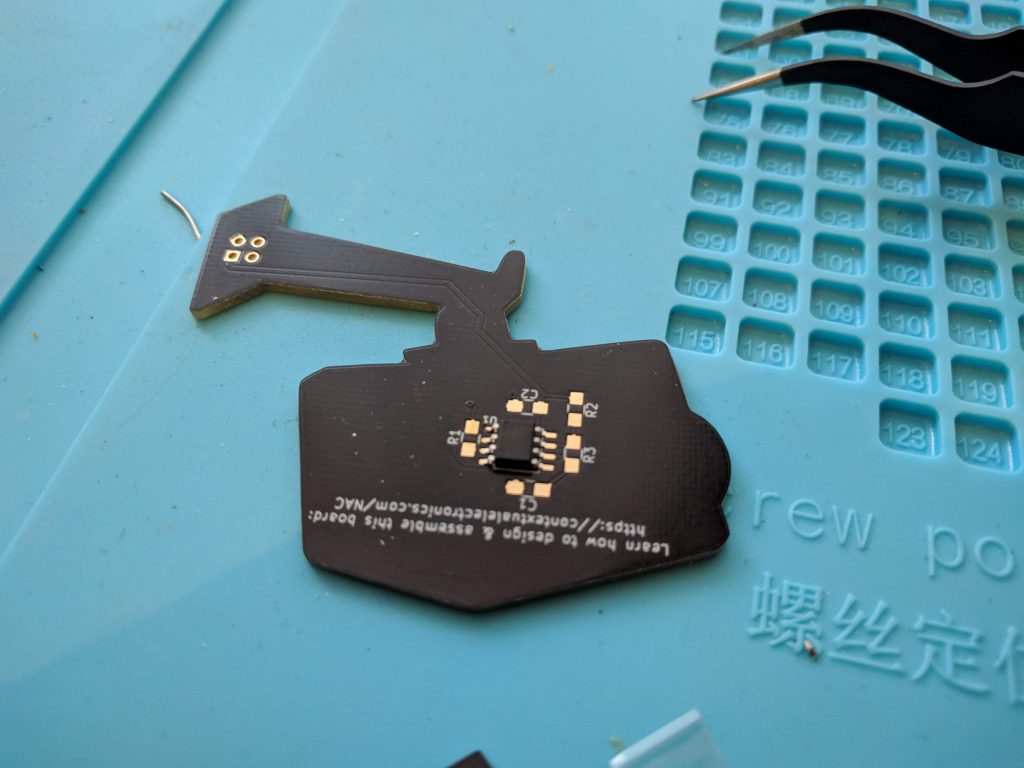
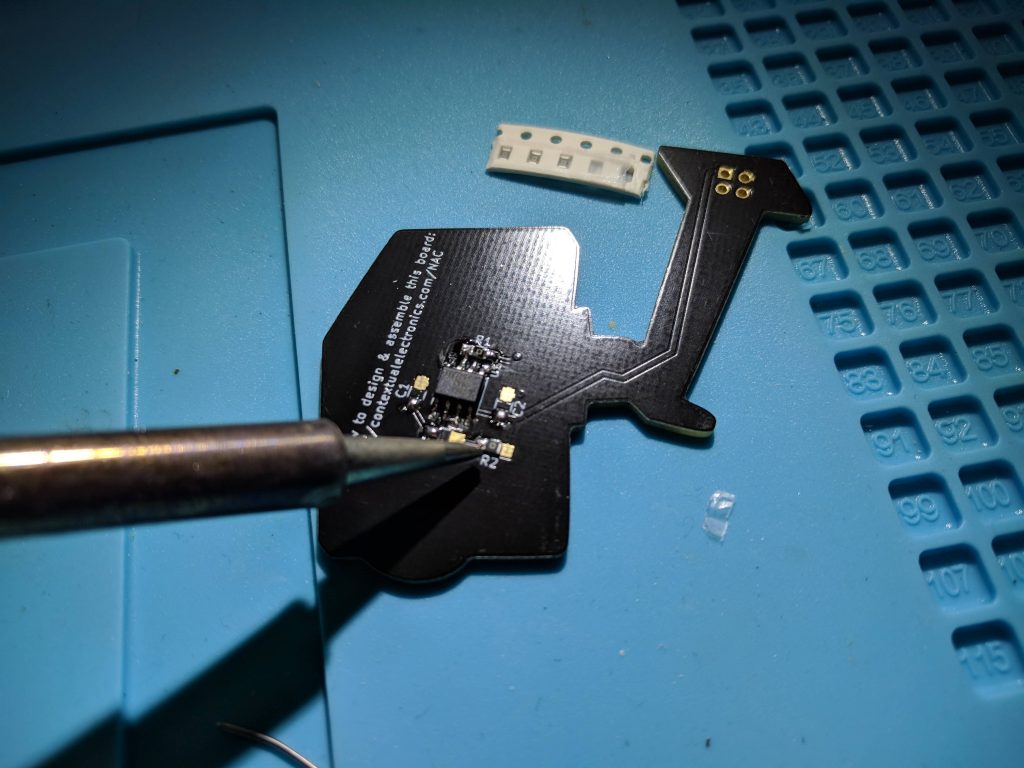
Add tack solder points to each passive
Place R1 (100 ohms)

Solder the opposite side of R1
Repeat for R2 (100 ohm)
Solder R3 (68K)

Place C1 and C2 (10 uF)
Flip board over to place D1. Start by tinning the cathode side of the diode:
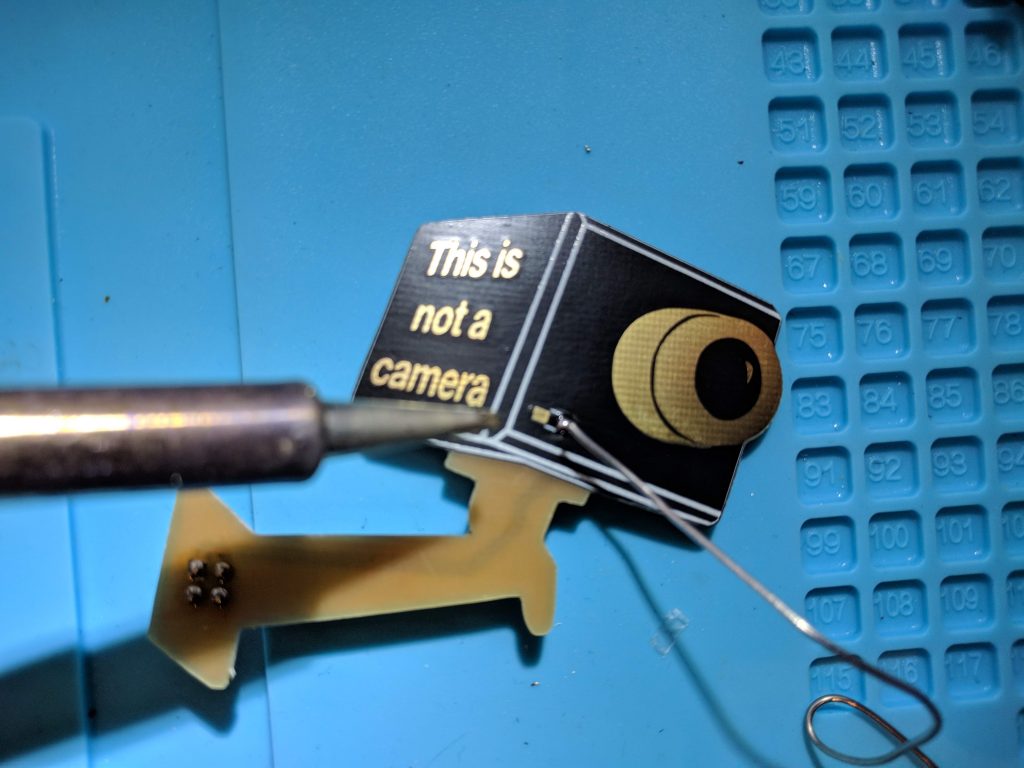
LED orientation. The arrow points towards the cathode side)