• Skip to main content
  • Skip to footer

Contextual Electronics

The Online Electronics Apprenticeship

  • Courses
    • Projects
      • Start Here
      • Shine On You Crazy KiCad
      • Getting To Blinky
      • The CE Header
      • Current Sink Or Swim
      • Power Swap
      • Advanced BLE-CELL (ABC Board)
    • Skills
      • Board Assembly
      • Revision Control
      • Simulation
      • Soldering
      • Test Equipment
  • Membership
    • Sign In
    • Sign Up
  • Forum
  • Podcast
    • Blog
  • Store
    • Cart

Shine On You Crazy KiCad

June 4, 2017 By Chris Gammell

Overview

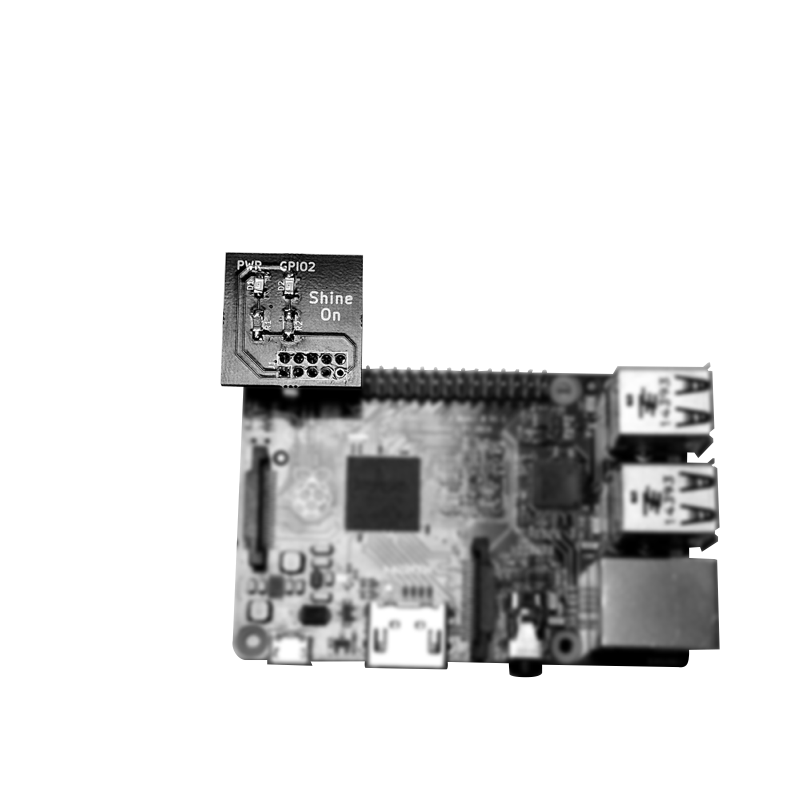
This course shows how to make a custom but very simple piece of electronics for the Raspberry Pi platform. The primary purpose is to get users building something in KiCad as fast as possible. The idea is to get a “quick win” before diving into more KiCad tasks like creating custom symbols and footprints. That is the topic of another free course on Contextual Electronics, Getting to Blinky 5.0.

Yes, this is a Pink Floyd reference

Prerequisites

  • You should have KiCad 5.1.x or higher installed on your computer.
  • Hardware required
    • Soldering equipment
    • A Raspberry Pi

Learning Objectives

  • Understand how to use the base functions of KiCad v5
  • Create a small circuit board that blinks an LED using a Raspberry Pi
  • Learn how to solder and troubleshoot a circuit.

Access

This course is free and accessible to all without a Contextual Electronics login

Course Content

Lessons Status
1

Designing a PCB in KiCad in 20 minutes

2

Buying Components

3

Assembling a simple circuit board with SMD components

4

Writing code, blinking an LED with a Raspberry Pi

Filed Under: Project

Footer CTA

Have a question? Post it to the support section of The Contextual Electronics Forum! Easy to register, free to all!


Need more personalized help? Email support@contextualelectronics.com


Copyright © 2023 · Log in